Converting Natural Gas or Propane Fuel Source in a Fireplace
Gas fireplaces provide a steady source of warmth and ambiance to our homes. But occasionally, circumstances arise that require a change in the type of gas used. This can be due to a change in fuel availability to your area, or a mismatch between the gas type available and your fireplace. In these cases, a natural gas to propane (or vise versa) fireplace conversion may be necessary.
In this article, we will explore the process of converting your gas fireplace by discussing both basic and advanced conversion techniques. By understanding the steps involved and considering some important factors, you can keep the fire burning in your home cleanly and safely.
Basic Fireplace Gas Conversions
The good news is that modern units are designed to be fuel convertible. The conversion process is also relatively simple and cost-effective. Here are the typical steps involved in a basic gas conversion:
- Preparation: Begin by turning off the gas and electric supply to the unit. Refer to your manual for specific instructions on removing the burner tray.
- Burner Orifice Replacement: Carefully remove the burner and replace the orifice with the appropriate one for the new gas type (Propane in this case). This step ensures the gas flow is adjusted correctly for optimal performance.
- Venturi or Mixer Adjustment: Adjust the venturi or mixer to suit the new gas type. For natural gas, it should be adjusted based on the elevation of installation, while propane usually requires leaving it in the fully open position to prevent sooting.
- Pilot Orifice Replacement: Remove the pilot head and replace the orifice with the Propane-specific one. Ensure the pilot adjustment is made accurately. If you have a Proflame unit, take care to reinstall the pilot head clamp properly to avoid leaks and grounding issues.
- Labeling: Apply a label to the rating plate and gas valve, indicating the date and who did the conversion. This label ensures compliance and safety.

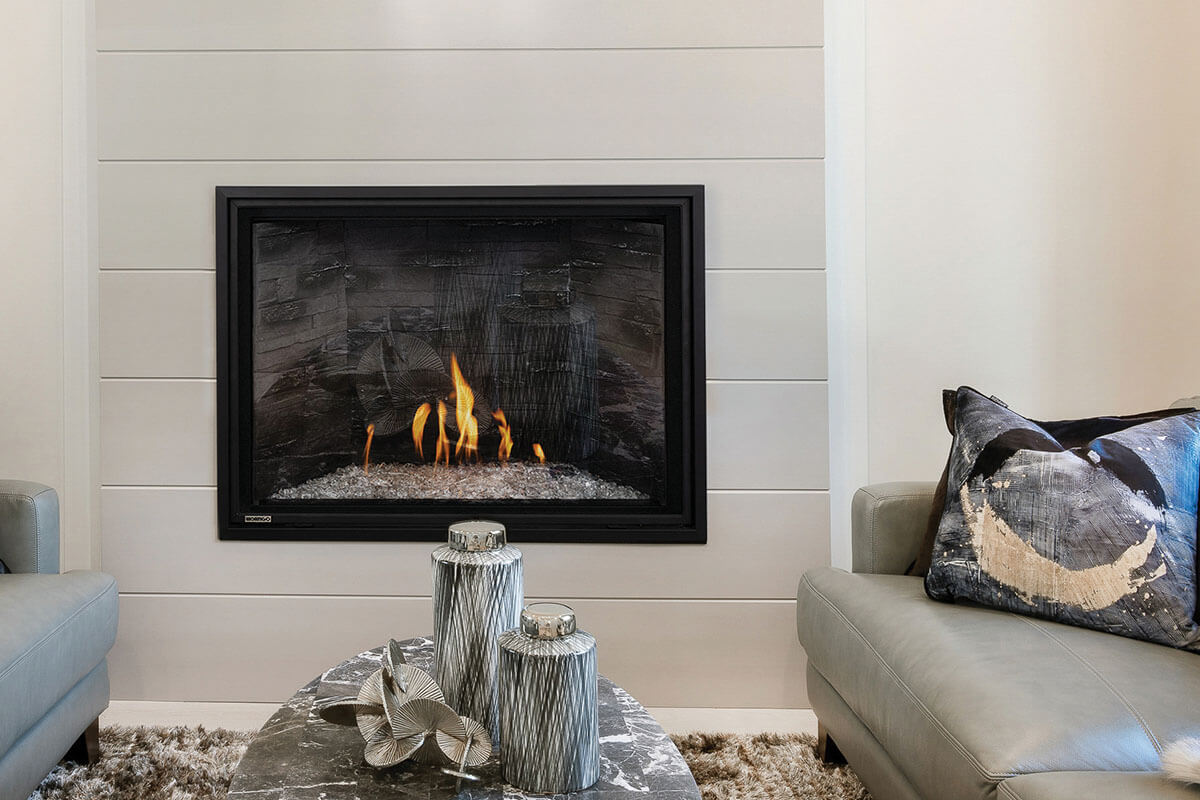
Phenom 38 room design by The Home Co.
Advanced Fireplace Gas Conversions
In certain situations, a basic conversion kit may not be available. Advanced gas conversions involve swapping out the entire valve or burner and are usually a last resort. Here are the general steps involved in an advanced gas fireplace conversion:
- Preparatory Steps: Turn off the gas and electricity supply to the fireplace. Remove screens, glass fronts, and any burner media.
- Disconnection: Disconnect all wires and the gas line inside the fireplace.
- Removal: Unscrew the floor plate inside the fireplace and lift out the entire burner assembly, which includes the burner, pilot, and occasionally the valve assembly.
- New Assembly Installation: Insert the new converted assembly into the unit and secure it with the original screws. Ensure a proper seal on the burner, any gaps allow gases and hot air to enter the assembly.
- Reconnection and Verification: Reconnect the gas line and electrical components. Check for any gas leaks to ensure safety. Affix a conversion label to the floor of the fireplace, indicating the date and who did the conversion.
Additional Considerations
Before starting a gas conversion, keep the following points in mind:
- Convertibility: Determine if your unit is convertible by checking the manual or consulting a professional. Some older models may not be suitable for conversion.
- Kit Availability: Before anything else, determine if your unit requires a basic conversion kit or an advanced assembly swap kit. Basic conversion kits are more common and cost-effective, while advanced kits may be custom-made and expensive.
- Gas Type Compatibility: Check if conversion kits are available for your specific gas conversion needs, such as converting from Liquid Propane to Natural Gas or vice versa. Ensure you have the correct orifices and parts for the desired gas type.
